
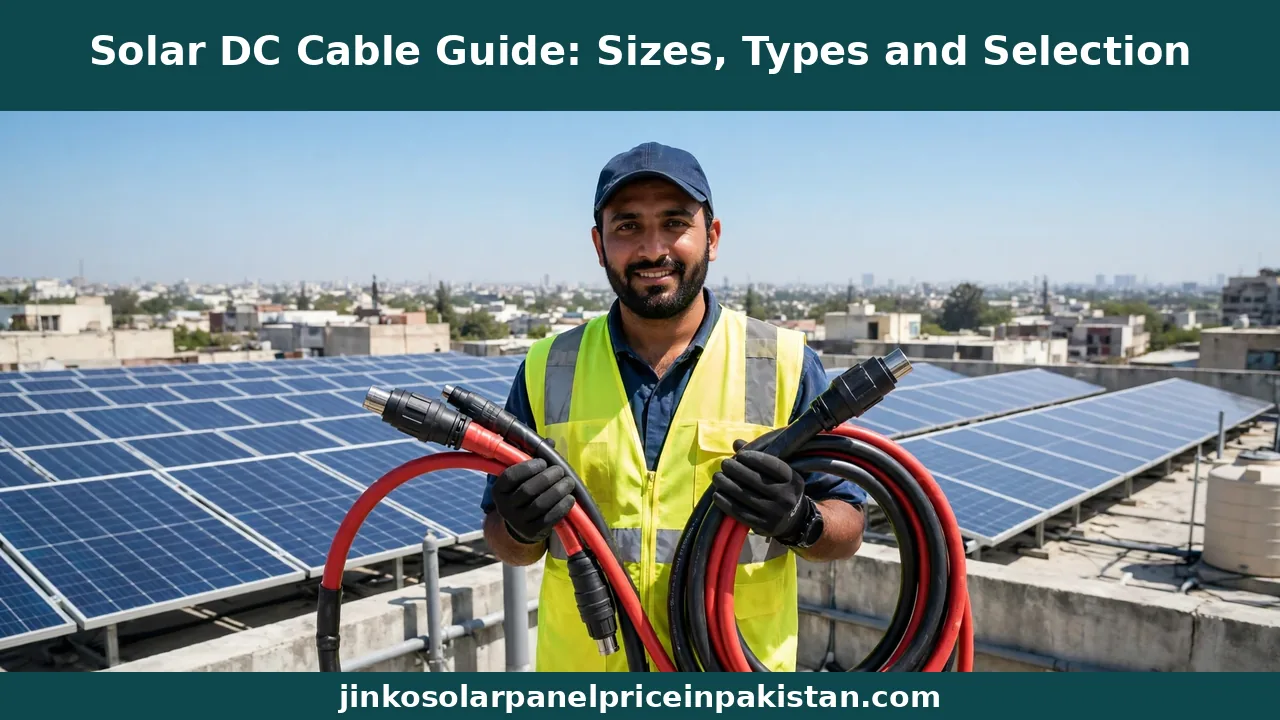
Solar DC Cable Guide: Sizes, Types and Selection

To choose the right solar DC cable size, check two things: how much current the cable must carry, and how far it must carry it. For most home solar panel strings in Pakistan, a 4mm² solar cable is the standard choice, and a 6mm² cable is the right pick when the run is long or two strings join into one cable. This solar dc cable size selection guide shows you how to pick the size for your own system, step by step.
Why Cable Size Matters More Than Most People Think
A solar cable looks like the simplest part of the system, but it carries direct current from your panels to your inverter, often across a hot rooftop, for 25 years. If the cable is too thin for the current, two bad things happen. First, it heats up — heat wastes energy, and in the worst case melts insulation and starts a fire. Second, voltage drops along the cable, so some of the power your panels made never reaches the inverter.
A cable that is too thick is safe, but it costs more and is harder to bend and route. The goal is the right size: thick enough to be safe and efficient, and no thicker than needed.
The Two Checks Every DC Cable Must Pass
Every DC cable must pass two separate checks. A cable that passes one but fails the other is still the wrong cable — use the thicker size that satisfies both.
Check 1: Ampacity — Can the Cable Carry the Current Safely?
Ampacity is the maximum current a cable can carry without getting hotter than its insulation can handle. Solar current is continuous — panels push current for hours in strong sun — so the cable is sized with a safety margin. The common rule, from the US electrical code (NEC 690.8), is to size the cable for 125% of the panel string’s short-circuit current (Isc). You find Isc on the panel datasheet or the label on the back of the panel — see our guide on how to read a solar panel datasheet.
Here is a simple example. If one string has an Isc of 13 amps, the cable must handle at least 13 × 1.25 = 16.25 amps. A 4mm² solar cable is commonly rated far above that, so it passes easily for a single string. But if two strings join into one cable, the current doubles to 26 amps, and 26 × 1.25 = 32.5 amps — now check the rating table, and you may need 6mm².
Check 2: Voltage Drop — How Much Power Is Lost on the Way?
Every cable has resistance. As current flows, a small part of the voltage is lost as heat — this is voltage drop. For solar DC circuits, the accepted limit is 3%, and 2% is the better target. Longer runs and higher currents mean bigger drops, so long runs need thicker cable.
The formula is simple: voltage drop = 2 × one-way length × current × resistance per metre. The “2” is there because current travels out on the positive cable and back on the negative cable, so both lengths count. You can find the resistance of each cable size in the manufacturer’s table — for example, copper 4mm² cable is about 4.6 ohms per kilometre, and 6mm² is about 3.1 ohms per kilometre. The Solar Panels Network wire size guide works through the same two rules with worked numbers.
Solar DC Cable Types You Will See in Pakistan
Not every black or red cable is a solar cable. The cable on a rooftop must survive sun, rain, heat and 25 years of weather.
PV Wire (Solar Cable)
This is the correct cable for panel strings: single-core copper with thick, UV-resistant insulation, usually rated for 1000V DC or 1500V DC and high temperatures. Sold in red and black, in 4mm² and 6mm² for most home systems. The short cables already attached to your panels, ending in MC4 connectors, are PV wire — never cut them off and replace them with ordinary wire.
Copper vs Aluminium
Always choose copper for solar DC cables. It carries more current for the same thickness, bends without breaking, and its connections stay tight over time. Aluminium is cheaper, but it needs a much thicker size for the same current and its joints loosen with heat cycles — not right for a rooftop you cannot inspect every month.
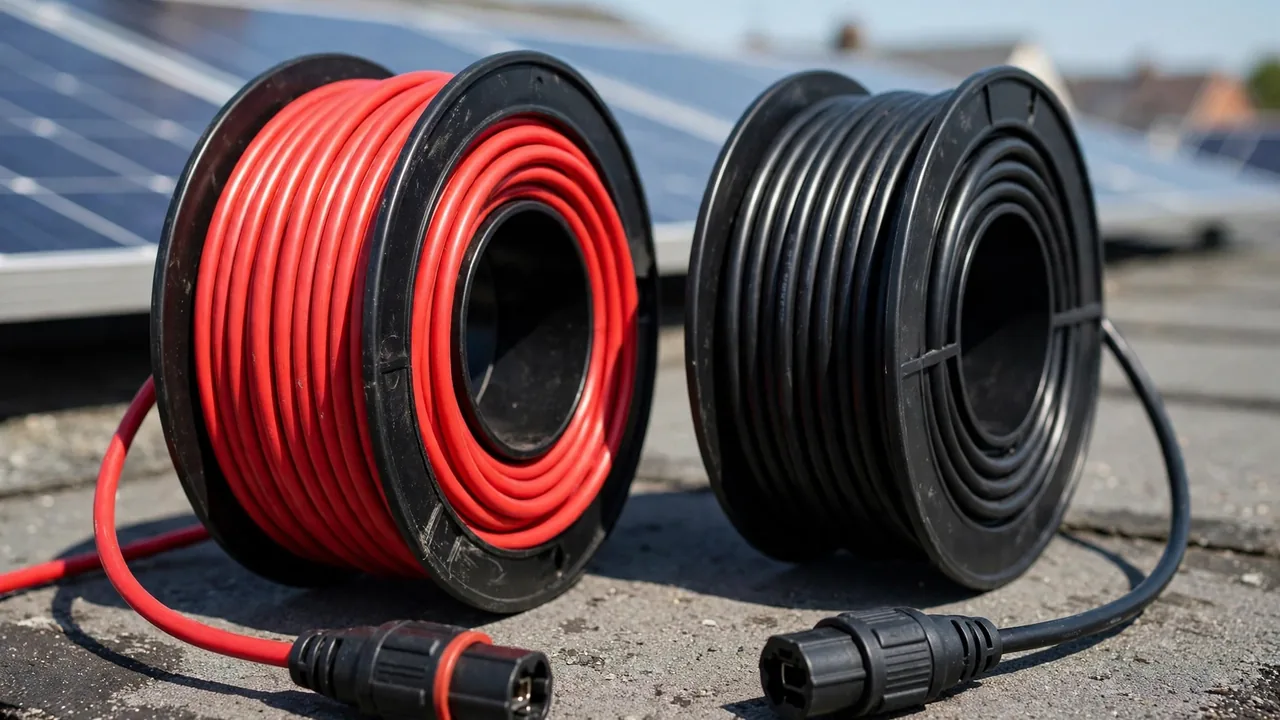
Common DC Cable Sizes and Where Each One Fits
This list is a starting point, not a final answer — always confirm with the two checks above for your own string current and run length.
- 4mm² — standard panel strings. The default for a single string of modern panels, with a short to medium run to the inverter.
- 6mm² — long runs and joined strings. Use this when the inverter is far from the panels, when two strings join into one cable, or when the string current is high.
- 10mm² and 16mm² — very long runs and combiner outputs. Used when several strings combine into one cable before the inverter.
- 25mm², 35mm² and 50mm² — battery to inverter. The battery-to-inverter cable carries far more current than a panel string, because the voltage is low (48V) and the power is high. These are a different job, covered below.
One warning: cable in the market is not always what the label says. Thin copper, copper-coated aluminium sold as pure copper, and undersized insulation are all common. Buy from a known dealer and check the printing on the cable before it goes on the roof. Our guide on fake vs original solar panels explains the same checking habit — apply it to cable too.
How to Choose the Right Size in 4 Steps
Follow these four steps for every DC cable run. Do it once per run, because each run has its own current and length.
Step 1: Find the Current (Isc)
Read the short-circuit current (Isc) from the panel datasheet or the label on the panel. If strings are joined in parallel, add their Isc values together — two 13-amp strings make 26 amps in the shared cable. Size for the joined current, not for one string.
Step 2: Apply the 125% Safety Margin
Multiply the current by 1.25. This is your minimum ampacity. Check it against the cable maker’s ampacity table for your installation method (free air on a roof, or inside conduit). If the table says the cable can carry that current, step 2 passes.
Step 3: Measure the One-Way Distance
Measure the actual cable route from the panels to the inverter — along the roof, down the wall, around corners — not the straight-line distance. The voltage-drop formula counts the round trip, so the distance enters the calculation twice.
Step 4: Check the Voltage Drop and Pick the Bigger Size
Calculate the voltage drop with the formula above. Under 2%, the size is good. Between 2% and 3%, it is acceptable but worth upsizing. Over 3%, go one size thicker and calculate again. The final size is the thicker of the two checks.
Worked Example: A 5kW Rooftop String
Take a typical home case: a 5kW string of ten large panels in series, short-circuit current about 13 amps, working voltage about 420 volts. The inverter is one floor below the roof, and the measured cable route is 25 metres one way.
First, ampacity: 13 × 1.25 = 16.25 amps minimum, and a 4mm² solar cable is commonly rated far above that. Second, voltage drop for 4mm²: the round trip is 50 metres at about 4.6 ohms per kilometre, so the cable is about 0.23 ohms. Drop = 13 × 0.23 = about 3 volts — about 0.7% of 420 volts, well under the 3% limit. So 4mm² is the right size here.
Now move the inverter 60 metres away. The round trip becomes 120 metres and the drop rises to about 1.7% — still under 3%, but close enough that a careful installer would choose 6mm² instead. The size changed because the distance changed, not the panels. Cable size is always a calculation, never a guess.
Battery-to-Inverter Cables Are a Different Job
The battery-to-inverter cable follows the same two checks, but the numbers are very different. A 5kW hybrid inverter on a 48V battery can pull more than 100 amps. At that current, even a short cable drops noticeable voltage, and a thin cable gets hot fast.
So battery cables are thick — commonly 25mm², 35mm² or larger — and short. Keep the battery close to the inverter, and use proper cable lugs crimped with the right tool, not twisted wire under a screw. A loose battery connection is a common cause of inverter faults and burnt terminals. See our inverter and battery pairing guide and the solar inverter buying guide for Pakistan.
Never use a panel-string cable (4mm² or 6mm²) for a battery connection, and never extend a battery cable with a joint in the middle. If the battery must sit far from the inverter, move the inverter — do not stretch the cable.
Routing, Protection and Common Mistakes
The right size is only half the job — how the cable is run matters just as much. Check these points on installation day.
- Use conduit indoors. Any DC cable inside the building should run in conduit. On the roof, PV wire can run exposed if it is supported and rated for outdoor use, but conduit gives better protection and easier replacement.
- Keep polarity clear. Red is positive, black is negative, always. A reversed string can damage the inverter.
- No joints on the roof. A DC run should be one continuous length from panels to inverter. Joints corrode and heat up — if a cable is too short, replace it with a longer one.
- Crimp MC4 connectors properly. MC4 connectors need the right crimping tool and pin size for the cable. A loose crimp arcs, heats up and melts the connector — one of the most common rooftop faults. Our MC4 connectors guide covers this in detail.
- Never use household wire. Ordinary house wiring is not UV-resistant and not rated for high DC voltage or rooftop heat. It cracks, and cracked DC cable on a roof is a fire risk.
- Support the cable. Loose cables rub on the roof, sag into water and get chewed by rats. Clip them neatly along the structure, with a little slack for heat expansion.
- Protect and earth the system. Cable sizing is part of a safe system, not the whole of it. Proper earthing and surge protection complete the job — see our solar panel earthing and grounding guide.
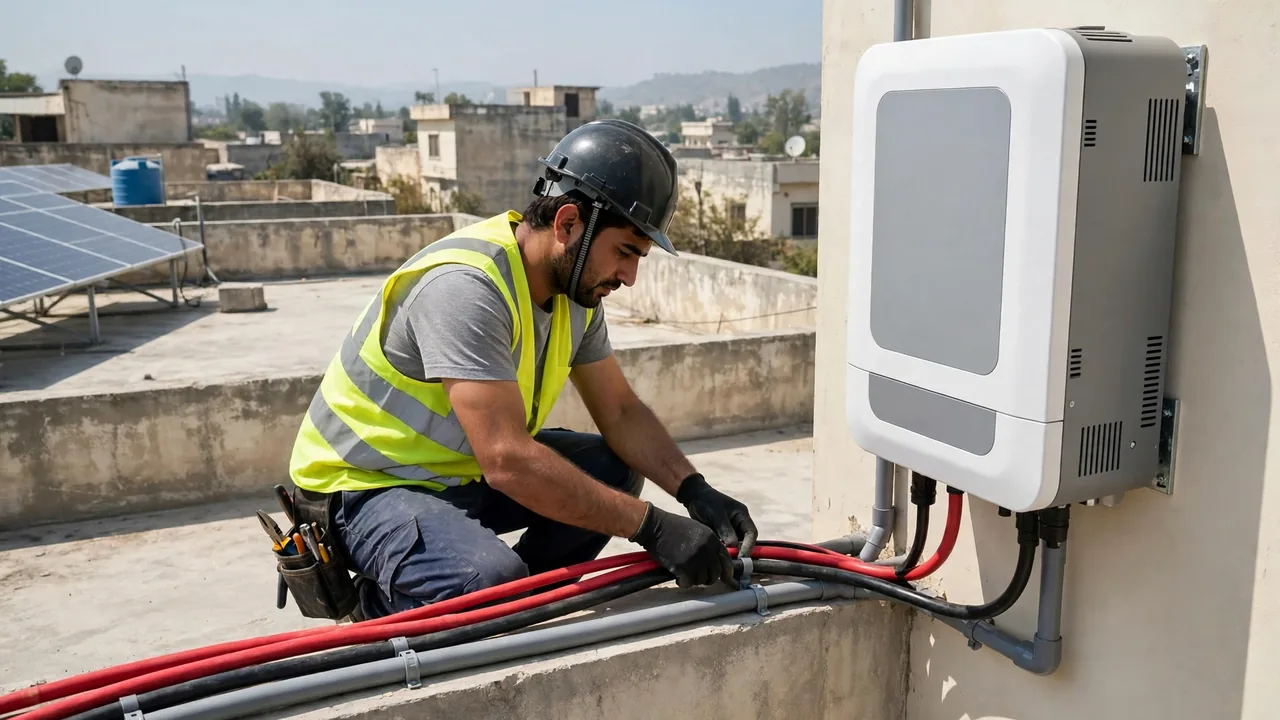
How to Check Your Installer’s Cable Work
You do not need to be an electrician to spot bad cable work. On installation day, check five things: the printing on the cable (size, voltage rating, standard); the colours (red and black, separate runs, no household wire on the DC side); the MC4 connectors (firm click, straight, no exposed copper); the route (clipped and supported, in conduit indoors, no joints); and the installer’s answer when you ask what size he used and why — a good installer explains the calculation in one minute. See our checklist before buying solar panels and the guide to choosing a solar installer.
Check Current Prices
Cable size is only one part of planning a solar system. If you are comparing systems, check the solar plate price in pakistan and the solar panel price in pakistan on our homepage, where today’s panel prices are updated daily, along with the solar inverter price in pakistan for the inverter at the end of those DC cables.
Frequently Asked Questions (FAQs)
What size DC cable do I need for solar panels?
For a single string of modern panels, 4mm² solar cable is the standard size for a short to medium run. Use 6mm² when the run is long, when two strings join into one cable, or when the string current is high. Always check both ampacity (current × 1.25) and voltage drop (under 3%) before you decide.
Is 4mm or 6mm cable better for solar?
Neither is better in general — the right one depends on your run. 6mm² cable loses less voltage over a long distance, so it is the right choice for long runs or joined strings. 4mm² is enough for a short single-string run and is easier to route. Size by calculation, not by habit.
Can I use normal house wiring for solar DC cables?
No. Ordinary house wiring is not UV-resistant, is not rated for high DC voltage, and is not made for rooftop heat. It cracks over time, and cracked DC cable on a roof is a fire risk. Use proper PV wire (solar cable) for all DC runs.
What is the maximum voltage drop allowed for solar DC cable?
Keep voltage drop under 3% for solar DC circuits, and aim for 2% or less. The longer the cable run and the higher the current, the bigger the drop — so long runs need thicker cable even when the current itself is small.
How do I calculate DC cable size for my solar system?
Read the short-circuit current (Isc) from the panel datasheet, multiply it by 1.25 for the minimum ampacity, measure the one-way cable route, then check the voltage drop with the formula: drop = 2 × length × current × resistance per metre. Pick the thicker size that passes both checks.
What size cable goes from the battery to the inverter?
Battery cables are much thicker than panel-string cables, because a 48V battery system carries very high current — a 5kW inverter can pull more than 100 amps. Common sizes are 25mm², 35mm² or larger, kept as short as possible, with proper crimped lugs. Never use 4mm² or 6mm² panel cable for a battery connection.
Do solar DC cables need conduit?
Any DC cable inside the building should run in conduit. On the roof, PV wire can run exposed if it is properly supported and rated for outdoor use, but conduit gives better protection against damage and makes future replacement easier.
How long do solar DC cables last?
Good quality PV wire lasts as long as the panels when it is installed properly — supported, protected from damage, and with sound connections. Check the cables once a year for cracked insulation, loose connectors or hot spots, and replace any damaged section at once.