
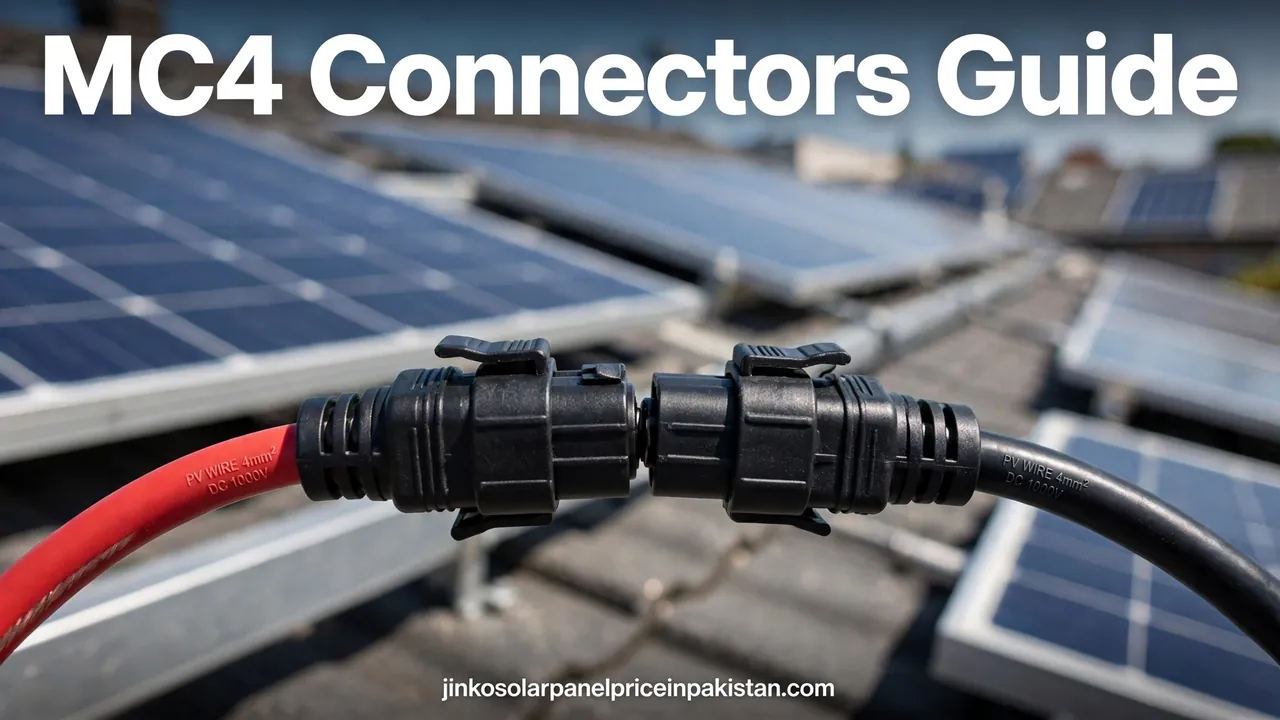
MC4 Connectors: Complete Guide for Solar Systems

MC4 connectors are the small locking plug-and-socket connectors that join solar panels to each other and to the cables running to the inverter. In short: weatherproof, touch-safe DC connectors, crimped onto PV cable ends, that click into a secure, sealed connection — mated only with the same family, fitted with the correct crimping tool, and disconnected with the proper tool after isolation. This guide explains what MC4 connectors are, the types on a home solar system, how they are fitted and removed, why mixing brands is risky, and how to spot a failing connector.
Every panel leaves the factory with MC4-style leads already attached, so a homeowner rarely chooses the connector — but a poor connection is one of the most common causes of DC-side problems. This guide is written for homeowners in Pakistan who want to understand their system. Live DC work always belongs to a qualified installer.
What Is an MC4 Connector?
MC4 stands for Multi-Contact, 4 mm — the connector family developed by the Swiss company Stäubli, whose engineers designed the original MC4 connector more than 30 years ago. The “4 mm” refers to the diameter of the contact pin inside. MC4 is a protected trademark of Stäubli. The name has also become a generic term — which is why compatibility needs care, as explained below.
An MC4 connector is a single-pole DC connector: one half carries the positive conductor, its partner the negative. Each half is a metal contact pin or socket crimped onto a stripped PV cable end, in a tough plastic body with a rubber sealing ring and a cable gland. The two halves push together and lock with a click, sealing out rain and dust. Once mated, the connection is touch-safe, because the live metal parts are recessed inside the housing.
They join panels into strings, connect strings to the home run cable, and plug into the inverter. For the wider DC wiring picture, see our solar DC wiring guide.
How MC4 Connectors Work
The connection works in two stages: electrical contact and mechanical locking. Inside each housing is a spring-loaded contact — in the original MC4, Stäubli’s MULTILAM contact technology: spring lamellae pressing against the mating pin from several sides at once. That multi-point contact keeps resistance low and stable over many years of heating and cooling on a roof.
The mechanical side is a locking tab and a sealing ring. Pushed fully home, the latches snap into place and the connector cannot be pulled apart by hand, while the rubber seal compresses around the cable. A connector not pushed fully home will feel loose, may not seal, and will run hot under load — which is why installers check every joint with a firm tug after mating. Connectors must only be opened when the circuit is not carrying current: opening a live DC connection draws an arc that damages the contacts.
Types of MC4 Connectors
Four types appear on home solar systems, and knowing which is which helps when reading a quotation or a wiring diagram.
Cable Couplers
The cable coupler is the standard MC4 connector most people picture: a plug and a socket, each crimped onto the end of a PV cable. Couplers join panel leads into strings and strings to extension cables, and every joint on the roof is normally a coupler pair.
Panel Receptacles
A panel receptacle is the fixed socket mounted on equipment rather than on a cable — for example, the DC input sockets on an inverter. The string’s cable coupler plugs directly into it, and its connector family must match the couplers on the cables.
Branch Connectors
Branch connectors, often called Y-connectors, split one connection into two or combine two strings into one. They are used where two panel strings are wired in parallel into a single inverter input. Stäubli’s MC4 branch connectors need no crimping or torquing and are rated at DC 1500 V. Parallel connections raise current rather than voltage, so cables and the inverter input must be sized for the combined current.
In-Line Fuse Connectors
An in-line fuse connector is an MC4-compatible housing with a fuse built in. It protects an individual string against overcurrent without a separate fuse holder in a combiner box. In-line fuses are an option where the design calls for string-level protection, and the fuse rating must match the string it protects.
MC4 vs MC4-Evo 2: What Is the Difference?
The MC4-Evo 2 is Stäubli’s newer generation. The two families mate with each other, but the Evo 2 adds improvements for harsher conditions: it is certified to IP68 for seven days at a depth of one metre, tested by TÜV Rheinland, while the original MC4 family is certified for module temperatures up to 105 °C and altitudes up to 5,000 metres above sea level. On a Pakistani rooftop, the Evo 2’s stronger seal is the practical advantage against monsoon rain, dust and long hot summers. What matters more than the generation is that both halves of every joint come from the same family and are genuine.
How to Connect and Crimp an MC4 Connector
Fitting an MC4 connector is a four-step job, and every step has a tool made for it. The steps below describe the process so a homeowner can recognise good work.
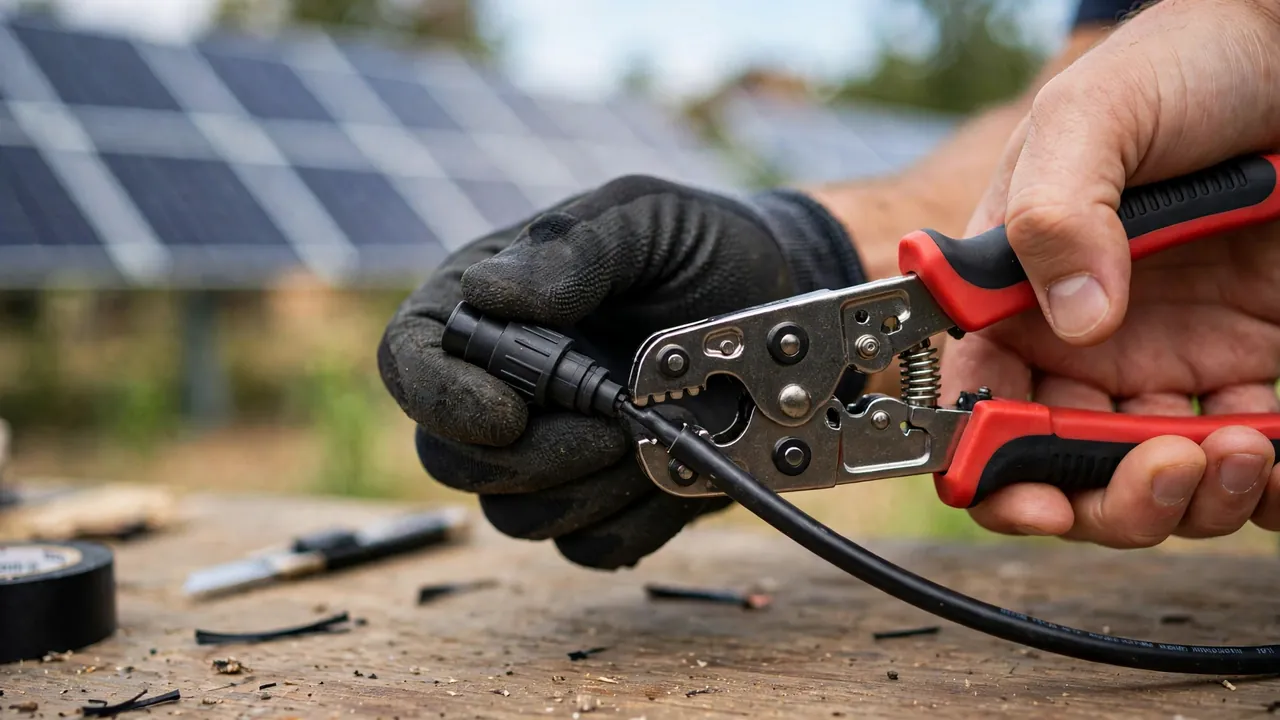
First, the PV cable is stripped to the specified length, with the copper strands left whole. Second, the metal contact pin is crimped onto the stripped conductor with the crimping tool made for that connector family — the die must match the pin and cable size, and pliers cannot make a proper crimp. A bad crimp is the single most common cause of a hot connector later. Third, the crimped pin is pushed into the housing until it clicks, with the sealing ring and cable gland in the right order. Fourth, the gland nut is tightened to the specified torque.
The finished joint is then mated: push the two halves together until the lock clicks, then tug firmly. A good joint sits straight, the gland is tight, and no copper is visible. On the roof, cables should be clipped to the mounting rails so connectors do not hang in water or rub against sharp edges — see our solar panel mounting structures guide.
How to Disconnect an MC4 Connector Safely
An MC4 connector cannot be pulled apart by hand — that is by design. It is released with a small MC4 disconnect tool, sometimes called a spanner, that presses the locking latches in from both sides while the halves are pulled apart. Forcing the joint without the tool damages the latches and the seal.
The safety sequence matters more than the tool. Before any MC4 joint is opened, isolate the circuit: switch off the DC isolator between the array and the inverter. Never open an MC4 connector while the array is producing — under load, separating the contacts draws a DC arc that burns the contact surfaces and can start a fire. If an inverter keeps reporting a DC fault, do not keep resetting it; call the installer. Our solar inverter installation guide explains the handover checks.
Mating Compatibility: Why Mixing Brands Is Risky
The most important compatibility rule is simple: mate connectors only with partners from the same manufacturer family that are designed to work together. Connectors from different makers may look identical and may even click together, but small differences in contact shape, spring pressure and sealing can leave a joint with higher resistance, a weaker seal, or a lock that does not fully engage.
Cross-mating — joining a connector from one maker with a lookalike from another — is a recognised cause of overheated connectors and field failures, and connector makers state that their warranties and certifications apply only when their connectors are mated with their own matching parts. A cross-mated joint can pass a test on installation day and still fail years later as heat, moisture and thermal cycling work on the imperfect contact.
Ask the installer which connector family the system uses and confirm that extension cables, branch connectors and replacement parts are the same family. If a panel’s factory leads are one brand and the extension cable is another, ask for the mismatch to be corrected. Keep the connector brand on record with the system documents, and treat any connector that feels loose, pulls apart by hand, or shows heat marks as a fault to report.
Common MC4 Connector Problems
A connector that runs hot is the classic symptom: the plastic discolours to brown or black, the housing feels soft or distorted, or the cable insulation near the gland looks brittle. Heat comes from resistance at the contact — a bad crimp, a cross-mated pair, a contact damaged by arcing, or a joint never pushed fully home.
Water ingress is the second common problem. If the gland was not tightened, the seal was damaged, or the connector hangs where water pools, moisture gets in and corrodes the contact. Corrosion raises resistance, which raises heat, which damages the seal further — the failure feeds itself. That is why installers clip cables up off the roof surface.
Mechanical damage is the third: cracked housings from being stepped on or crushed, broken locking tabs from being forced apart without the tool, and cables pulled tight so the connector carries the weight of the cable run. A connector with a broken latch can separate on its own in wind, leaving a live open end. UV and heat also age the plastic; a chalky or brittle housing has reached the end of its service life.
Inspecting Your MC4 Connectors
A homeowner can safely inspect MC4 connectors by eye without opening any joint. Once or twice a year — and after a severe storm — look at every connector you can reach safely: each pair pushed fully together, housings uncracked and undiscoloured, no cable hanging loose or resting on a sharp edge, and no connector sitting in a puddle. Inside, check the DC isolator and string labels for scorch marks.
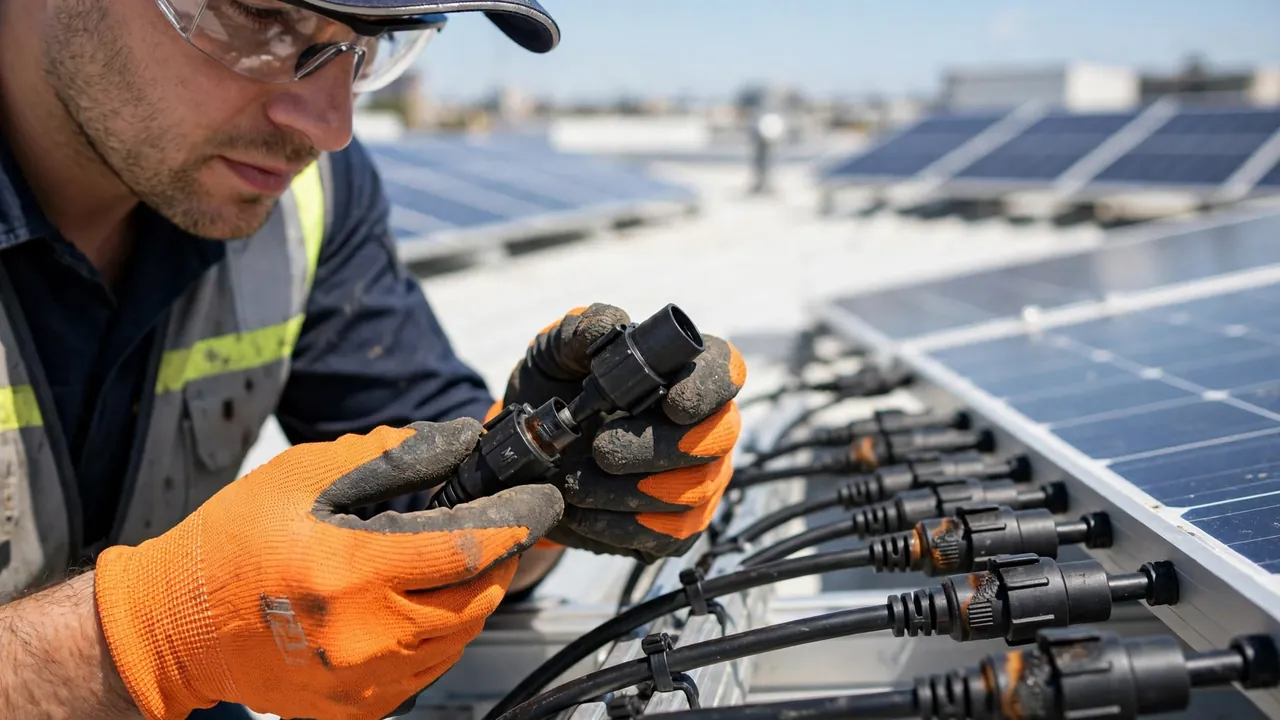
Do not open a live connector, remake a crimp, or replace a connector yourself. If you find a discoloured, loose, cracked or wet connector, note its location, take a photo, and call your installer. If the inverter reports a DC fault or a sudden drop in output, the connectors are one of the first things a professional will check — along with the earthing, which our solar panel earthing and grounding guide explains.
Common Mistakes to Avoid
Crimping with pliers or the wrong die instead of the proper crimp tool is the first mistake, and the one most likely to show up years later as a burnt connector. Mixing connector brands on the two halves of a joint is the second. Leaving connectors unclipped, hanging in water, or pulled tight is the third. Forcing a connector apart without the disconnect tool — or opening one under load — is the fourth. Reusing a connector with a broken latch, a damaged seal or heat marks is the fifth.
The rule behind all five is the same: a connector is a precision electrical part, not a piece of plastic to improvise with. It costs little, carries the full output of the string, and sits on a hot, wet, dusty roof. Fitting it properly, mating it with its own kind, and checking it once a year is cheap insurance for the whole array.
Further reading: Stäubli, Photovoltaics DC Components — Original MC4 PV connector, for the original MC4 product range, MC4-Evo 2 certification and mating compatibility.
Frequently Asked Questions (FAQs)
What is an MC4 connector?
An MC4 connector is a locking, weatherproof plug-and-socket DC connector crimped onto the ends of PV cable. It joins solar panels into strings and connects strings to the inverter. MC4 stands for Multi-Contact, 4 mm — the diameter of the contact pin inside — and the original MC4 was designed by the Swiss company Stäubli more than 30 years ago.
Can MC4 connectors from different brands be mixed?
No. Mate connectors only with partners from the same manufacturer family that are designed to work together. Connectors from different makers may look identical and click together, but small differences in contact shape, spring pressure and sealing can leave a joint with higher resistance and a weaker seal. Cross-mating is a recognised cause of overheated connectors and field failures.
How do you disconnect an MC4 connector?
First isolate the circuit: switch off the DC isolator between the array and the inverter and confirm the inverter shows no DC input. Then use an MC4 disconnect tool to press the locking latches in from both sides while pulling the halves apart. Never open an MC4 connector while the array is producing, because separating the contacts under load draws a DC arc.
What is the difference between MC4 and MC4-Evo 2?
The MC4-Evo 2 is Stäubli’s newer generation of the connector. The two families mate with each other, but the Evo 2 adds improvements for harsher conditions — it is certified to IP68 for seven days at a depth of one metre, tested by TÜV Rheinland. On a Pakistani rooftop, the Evo 2’s stronger seal is the practical advantage against monsoon rain, dust and long hot summers.
How long do MC4 connectors last?
MC4 connectors are designed to last the life of the system when correctly fitted, mated with their own family and kept out of standing water. UV, heat and moisture still age the plastic over many years, so inspect them once or twice a year and replace any housing that has gone chalky, brittle, cracked or discoloured.
What are the signs of a faulty MC4 connector?
Discoloured or browned plastic, a soft or distorted housing, brittle insulation near the cable gland, a joint that feels loose or pulls apart by hand, corrosion, or water inside the connector. A DC fault or a sudden drop in output can also point to a connector problem. Report any of these to your installer rather than opening the joint yourself.
Can a homeowner crimp MC4 connectors themselves?
This guide explains the process so a homeowner can recognise good work, but fitting connectors on a live or installed array is installer work. A proper crimp needs the crimping tool and die made for that connector family — pliers cannot make one — and any DC work on a producing array is dangerous. Leave fitting and replacement to a qualified installer.
Do MC4 connectors need maintenance?
Yes, by eye, without opening any joint. Once or twice a year — and after a severe storm — check that each pair is pushed fully together, housings are uncracked and undiscoloured, no cable hangs loose or rests on a sharp edge, and no connector sits in a puddle. Check the DC isolator and string labels indoors, and report anything damaged or discoloured to your installer.