
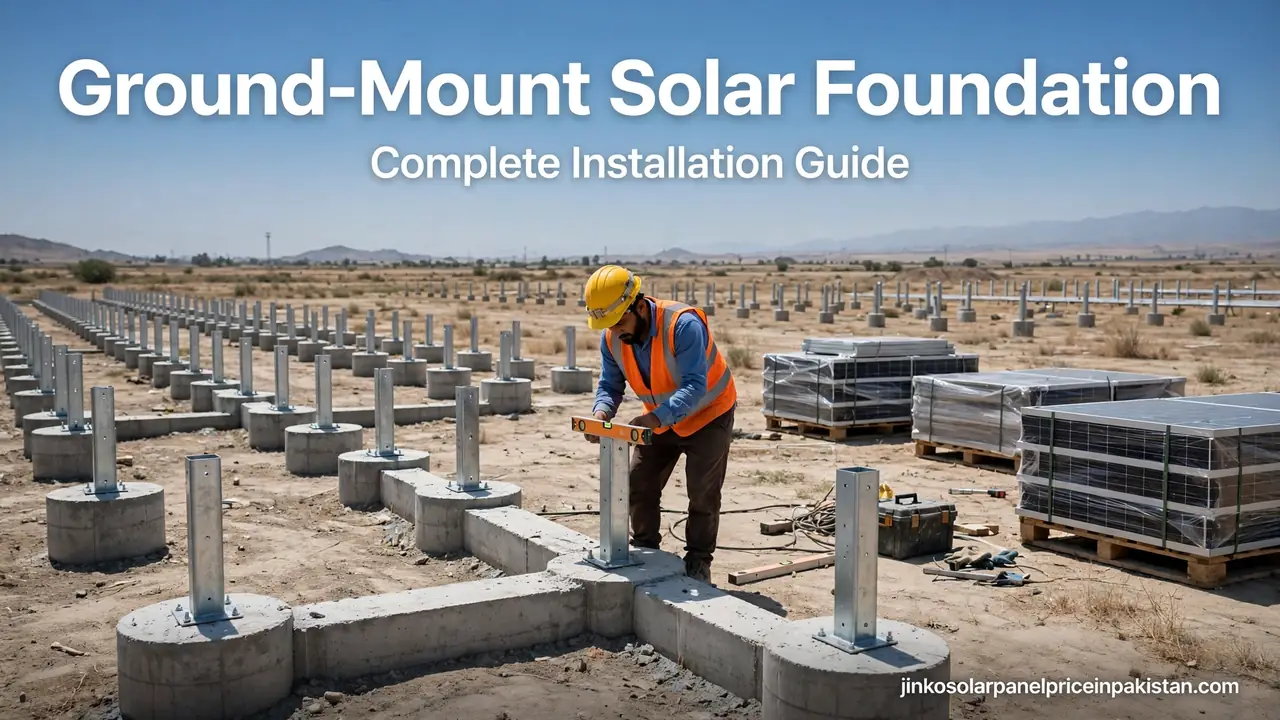
Ground-Mount Solar Foundation: Complete Installation Guide

A ground-mount solar foundation is the base that anchors a ground-mounted solar array to the earth — usually a set of concrete piers, driven steel piles, helical screw piles, or precast ballast blocks that hold the mounting structure upright for the full life of the system. You never see it once the panels are up, yet it carries every load the array will ever face: the weight of the panels, the uplift of strong wind, and the shifting of soil through the seasons. This ground mount solar foundation guide explains the foundation types used in Pakistan, how to choose between them, and how a proper installation is carried out.
What Is a Ground-Mount Solar Foundation?
Unlike a rooftop system, where the roof itself carries the array, a ground-mounted system stands on its own structure — and that structure needs something solid to stand on. The foundation is the engineered connection between the steel racking and the ground. Each foundation point transfers the loads from the panel rows down into the soil or rock below, keeping the array level and stable through storms and seasons.
A typical home or small commercial array in Pakistan uses one foundation point per leg of the mounting frame, arranged in neat rows. The number, depth, and type depend on the array size, the soil, and the wind exposure — not on a fixed rule. Foundations also set the height and tilt of the array.
Why the Foundation Matters More Than the Panels
Solar panels are built to last for decades, and the foundation must last at least as long — a failed one means dismantling rows of panels and starting again. Two forces decide whether a foundation does its job:
First is wind uplift. A solar panel is a large, flat surface, and wind pressing against it creates a lifting force that tries to pull the array out of the ground. In most ground-mount designs, wind uplift — not the weight of the panels — governs how deep and how strong the foundation must be.
Second is the soil itself. Loose sand grips a pile very differently from dense clay, and rock behaves differently again — a foundation that works in the firm soil of the Punjab plains may fail in the loose sand of Thar or the rocky north. This is why installers test the soil before committing to a foundation type.
The 4 Main Types of Ground-Mount Foundations
Four foundation families cover almost every ground-mount site in Pakistan, and the right choice follows the soil — not the installer’s preference.
1. Concrete Piers
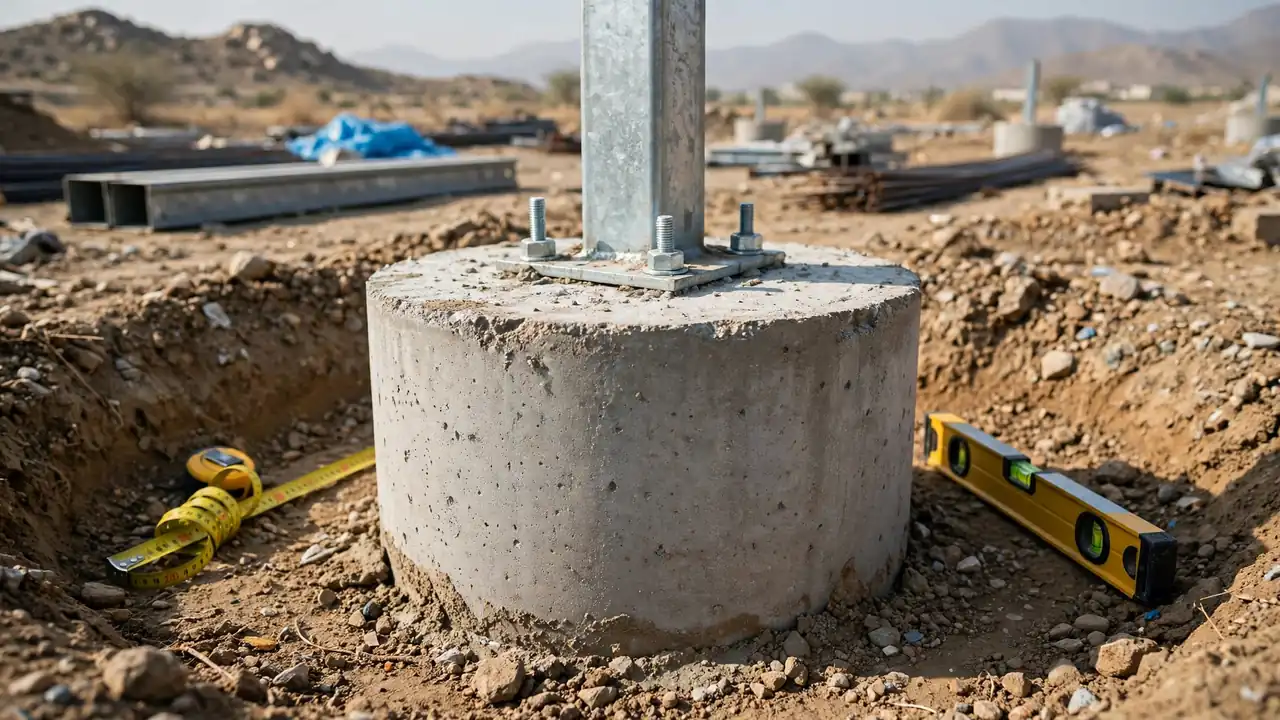
Concrete piers are the most traditional and common foundation for home and small commercial ground-mount systems in Pakistan. A hole is dug at each foundation point, a steel post or anchor bolt cage is set in place, and concrete is poured around it; once cured, the pier resists both downward weight and wind uplift.
Concrete piers suit most Pakistani soils, from the firm alluvial plains of Punjab to the mixed soils around Lahore, Islamabad, and Karachi. They are especially useful where the soil is too loose for a pile to grip, or where rock near the surface makes driving or screwing impractical. The trade-off is time: concrete must be allowed to cure before the racking is loaded, so the foundation work and the panel mounting happen on different days.
2. Helical Piles (Ground Screws)
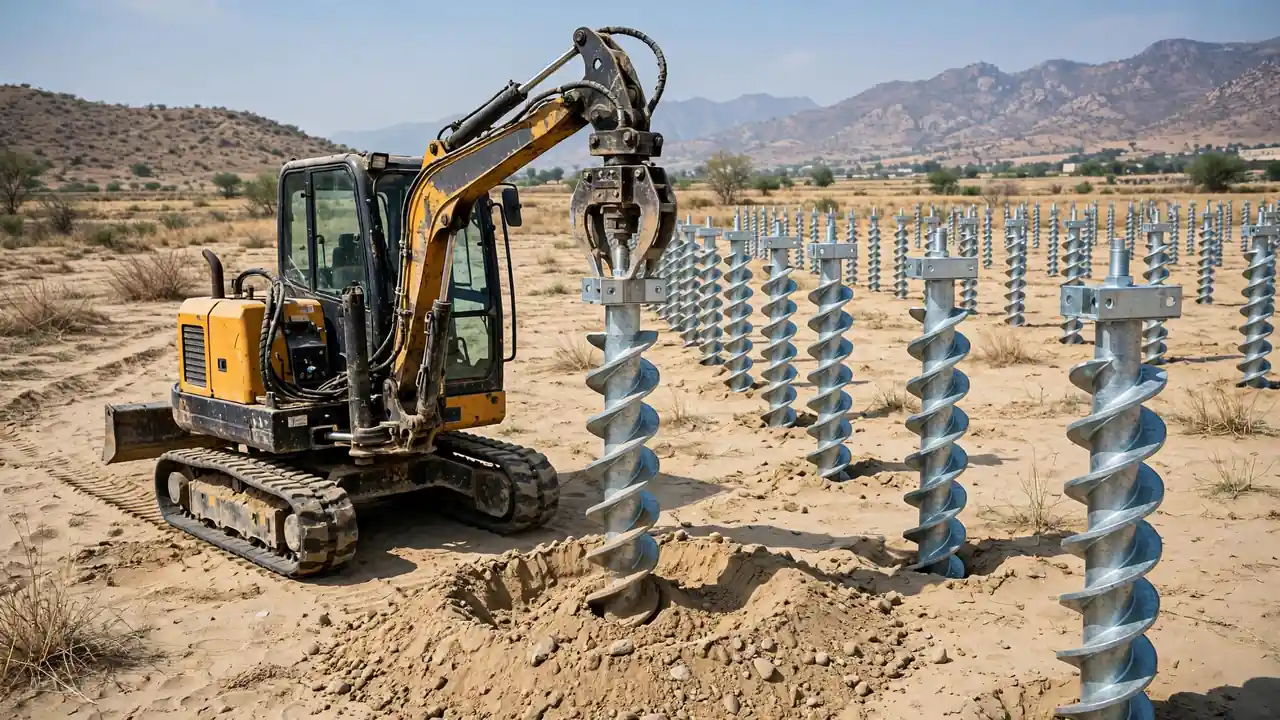
Helical piles — also called ground screws — are galvanized steel shafts with helical flights twisted into the ground by a machine, much like a large screw, with the racking bolted directly to the top. They are the fastest foundation to install — no excavation, no concrete, no curing wait — so the racking can be mounted the same day.
Helical piles work best in sandy, gravelly, or moderately loose soil — a good fit for many open plots in Sindh and southern Punjab. They perform well in both compression and tension — exactly what a solar array needs against wind uplift. They are not suitable for hard rock, where the flights cannot bite, and they need a machine with enough rotary torque to drive them. A helical pile can also be unscrewed and reused if the array ever moves.
3. Driven Steel Piles
Driven steel piles are galvanized steel lengths — usually C-section, H-beam, or pipe profiles — hammered or vibrated into the ground with a pile driver. They are the default for large commercial and utility-scale projects, because installation is fast and the cost per pile is low where the soil allows it. Driven piles need soil dense enough to develop pull-out resistance, since wind uplift governs the design. They are less common for small home systems, where a pile-driving rig is hard to justify for a few foundations, but they suit larger arrays on the right ground.
4. Ballast (Precast Concrete Block) Foundations
Ballast foundations use heavy precast concrete blocks sitting on the ground surface to hold the racking down by sheer weight. Nothing is dug, drilled, or driven, so they suit sites where the ground cannot be disturbed — shallow rock, buried utilities, or a paved area. The trade-off is weight and footprint: ballast needs far more concrete than piers, the blocks take up space, and it relies entirely on friction and weight, so it suits sheltered sites better than exposed ones. On a rocky northern plot, though, ballast can be the only practical option.
How to Choose the Right Foundation for Your Site
A good installer checks the site before recommending a type:
Soil type and bearing strength. The single biggest factor. Digging test pits or taking soil samples tells the installer whether the ground is clay, sand, gravel, or rock, and how deep the firm layer lies. Loose sand favours helical piles or concrete piers; dense soil favours driven piles; rock points toward drilled piers or ballast.
Wind exposure. An open, elevated, or coastal plot faces stronger gusts than a sheltered courtyard, so higher wind exposure means deeper foundations, larger piers, or more piles per row.
Slope and drainage. A sloping plot needs stepped foundations to keep the array level, with drainage so monsoon runoff does not wash soil from the footings; flat plots need checking that water does not pond around the posts after heavy rain.
Water table and flooding. Where the water table is high or seasonal flooding occurs, concrete piers must be designed for wet conditions and steel protected against prolonged contact with water. Access for machinery. Helical and driven piles need machine access to every foundation point; a tight urban plot reached only by a narrow lane may leave hand-dug concrete piers as the only practical choice.
For most home systems in Pakistan, the choice is concrete piers for general use or helical piles where the soil is sandy and speed matters; larger projects add driven piles, and ballast covers sites where nothing can go in.
Ground-Mount Foundation Installation: Step by Step
A proper installation follows a fixed sequence. Skipping a step — especially the soil check or the alignment check — is how arrays end up leaning or vulnerable to the first big storm.
Step 1: Site survey and soil check. The installer surveys the plot, marks the array area, checks for underground utilities, and digs test pits or takes soil samples; slope, drainage, and shading are noted too, since they decide the row layout. If you are still deciding between a ground-mount array and a roof system, our solar panel mounting structures guide compares the options.
Step 2: Layout and marking. Foundation points are marked in a grid with string lines and stakes, every angle checked square, because a foundation in the wrong place cannot be moved once the concrete sets or the pile is driven. Row spacing must also leave enough gap that one row does not shade the next — see our solar panel shading analysis for how spacing affects output.
Step 3: Excavation or pile installation. For concrete piers, holes are dug to the designed depth and diameter. For helical piles, the machine twists each pile in to the specified depth and torque; for driven piles, the rig drives each pile to the required depth. Depth, diameter, and spacing follow the racking manufacturer’s specifications for the site’s soil and wind — as a reference, Solar Power World’s guide to anchoring ground-mounted solar arrays notes that drilled shaft piles for solar footings can range from 6 to 24 inches in diameter and 5 to 30 feet deep, depending on the site.
Step 4: Setting posts and pouring concrete. Steel posts or anchor bolt cages are set into the holes, checked plumb with a spirit level, and braced so they cannot move. Concrete is then poured, compacted to remove air pockets, and finished level at the top, because the racking sits directly on it.
Step 5: Curing. Concrete foundations must cure before any load is applied — the wait depends on the mix and weather, and the installer should state it before work begins. Helical and driven piles need no curing and can be loaded immediately.
Step 6: Alignment check and racking. Once cured, every foundation top is checked for level and height against its neighbours before the rails are bolted on. A foundation that is out of level at this stage must be corrected now — shimming a tilted row later is a poor fix that stresses the frame.
Step 7: Earthing and drainage. The steel structure is earthed as part of the installation, and the ground around the footings is graded so rainwater drains away — see our solar panel earthing and grounding guide for why earthing matters.
Common Foundation Mistakes to Avoid
Most ground-mount foundation failures trace back to a small set of avoidable mistakes. Skipping the soil check is the most common: a helical pile in rock, or a driven pile in loose sand, will not hold — and the failure may only show up in the first strong storm. Shallow foundations lose their grip in wet soil and offer little resistance to wind uplift; depth is decided by soil and wind, not by convenience. Loading concrete before it cures can crack the pier or shift the post out of plumb. Poor alignment forces the racking into a twist, stressing bolts and clamps. Unprotected steel in contact with soil and water corrodes, so posts should be hot-dip galvanized or properly coated. And with no drainage plan, water pooling around footings softens the soil and accelerates corrosion.
Maintenance and Inspection After Installation
A ground-mount foundation needs little maintenance, but should not be forgotten. Inspect the footings once or twice a year — ideally before and after the monsoon — and after any severe storm. Look for cracked piers, leaning posts, rust at the base of steel posts, soil erosion, and water pooling where it did not pool before. Check that anchor bolts are still tight and the racking has not shifted. If a pier has cracked or a pile has moved, call the installer back rather than just re-tightening the bolts — the foundation itself needs assessment. Keep vegetation under control around the array: tall grass and weeds trap moisture against the steel and hide erosion.
Frequently Asked Questions (FAQs)
What is the best foundation for ground-mounted solar panels?
There is no single best type — it depends on the soil. Concrete piers suit most Pakistani soils and are the standard choice for home systems. Helical piles are best in sandy or loose soil and install fastest. Driven steel piles suit larger arrays on dense soil, and ballast blocks are the answer where the ground cannot be dug or drilled, such as shallow rock.
How deep should a ground-mount solar foundation be?
There is no fixed depth — it is set by the soil, the wind exposure, and the racking manufacturer’s engineering tables. The installer should state the designed depth before work begins, and every pier or pile should reach it. As a reference, Solar Power World’s anchoring guide notes drilled shaft piles for solar footings can range from 6 to 24 inches in diameter and 5 to 30 feet deep, depending on the site.
Can solar panels be installed on sandy soil?
Yes. Sandy soil is actually a good case for helical piles, which screw into loose ground and grip well in both compression and tension, or for concrete piers, which spread the load over a wide base. What matters is choosing the foundation for the soil — a driven pile in loose sand will not develop enough pull-out resistance against wind uplift.
Do concrete foundations need curing time before panels are mounted?
Yes. Concrete foundations must cure before any load is applied — the exact wait depends on the mix and the weather, and the installer should state it before work begins. Helical piles and driven steel piles need no curing and can be loaded the same day, which is one reason they are chosen when the schedule is tight.
How long does a ground-mount solar foundation last?
A properly built foundation is designed to last as long as the solar array it supports — decades. Concrete piers and hot-dip galvanized steel resist corrosion and weather when installed correctly, and the main threats are water pooling, soil erosion, and unprotected steel. A yearly inspection before and after the monsoon catches problems early.
Can a ground-mount foundation be built on rocky ground?
Yes, but the options change. Where rock is too shallow to drill or drive into, ballast foundations — heavy precast concrete blocks that hold the racking down by weight — are the practical answer. Drilled concrete piers are another option where the rock can be bored. Helical and driven piles are not suitable for hard rock.
What should I check after a ground-mount foundation is installed?
Check that every foundation top is level with its neighbours, every post is plumb, and all anchor bolts are tight. Look for cracked concrete, tilting posts, rust at the base of steel posts, and water pooling around the footings. Confirm the steel structure is earthed and the ground is graded so rainwater drains away from the array.