
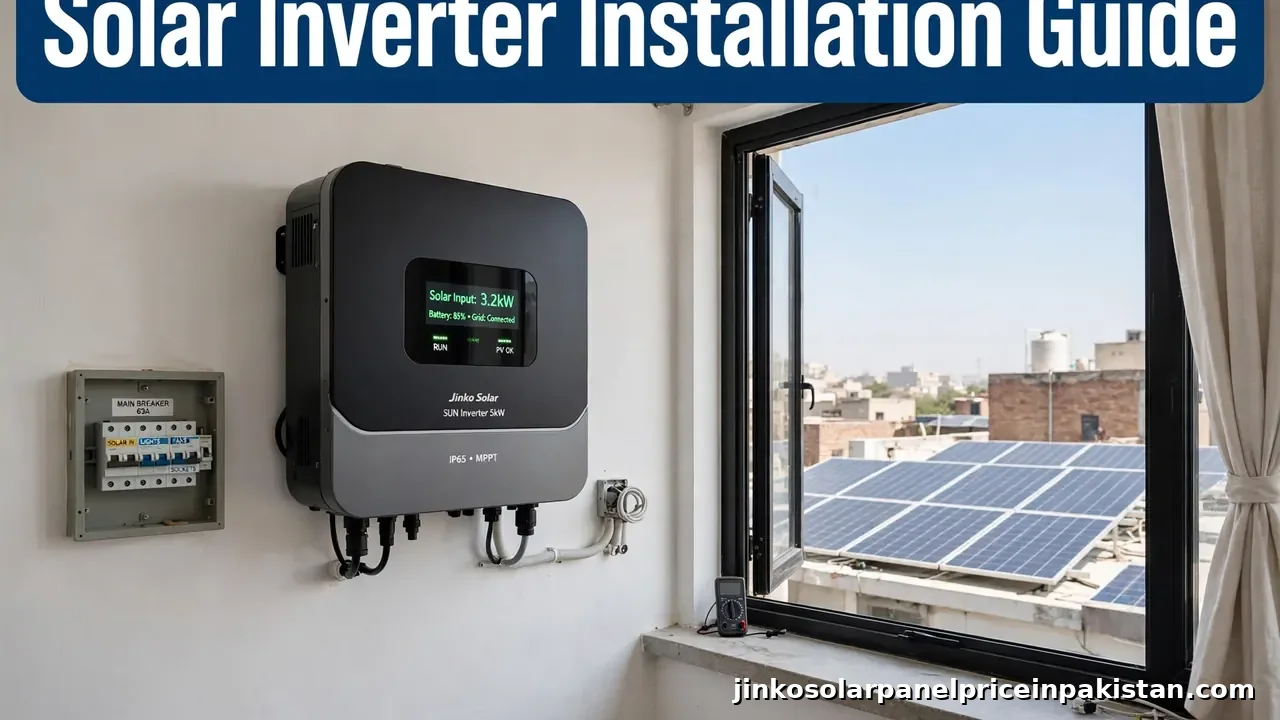
Solar Inverter Installation: Complete Step-by-Step Guide

A solar inverter installation connects your solar panels to your home’s electrical system: the inverter is fixed to a wall, DC cables from the panels are wired into its PV inputs, its AC output is connected to your distribution board through a dedicated breaker, the unit is properly earthed, and the whole system is commissioned and tested before it goes live. This solar inverter installation guide for Pakistan walks you through the complete process step by step — site assessment, choosing the right location, mounting, DC and AC wiring, earthing, battery connection for hybrid models, commissioning, and monitoring setup — so you know exactly what a proper, safe installation looks like.
What Installing a Solar Inverter Actually Involves
A typical residential installation follows nine stages:
- Site assessment — checking the roof, panel layout, cable routes and the distribution board.
- Choosing the location — a cool, shaded, ventilated spot near the panels and the distribution board.
- Mounting — fixing the inverter to a solid wall with its bracket.
- DC wiring — running cables from the panel strings to the inverter’s PV inputs.
- AC wiring — connecting the output to the distribution board through a dedicated breaker.
- Earthing and surge protection — grounding the unit and protecting both sides.
- Battery connection — wiring the battery bank on hybrid and off-grid models.
- Commissioning and testing — powering up in the correct sequence and verifying operation.
- Monitoring setup — connecting Wi-Fi and the mobile app.
The inverter is the heart of the system: it converts the direct current (DC) your panels produce into the alternating current (AC) your home runs on. The U.S. Department of Energy’s overview of solar inverter types explains the main designs — string inverters (one unit handling several panels wired in a “string”), microinverters (a small unit on each panel), and large central inverters for solar plants. Most Pakistani homes use a string or hybrid string inverter with battery backup for load shedding.
Before You Begin: Planning and System Checks
Match the Inverter to Your System
Installation only goes smoothly when the inverter suits the panels and the load. Before anyone picks up a drill, confirm the inverter’s capacity matches your array and household load (see our guide to choosing the right inverter size), that the type fits your needs — on-grid, off-grid or hybrid — and that you have read the manufacturer’s manual for your exact model. Our solar inverter buying guide for Pakistan covers the pre-installation decisions, and our top hybrid inverters list is a good starting point if you want backup during load shedding.
Decide Who Does What
A careful homeowner can handle the planning, choose the location and even mount the unit — but the AC wiring into the distribution board and final commissioning belong to a qualified electrician. Mains-voltage mistakes can destroy the inverter, void its warranty or start a fire. In Pakistan, where many homes have older wiring, having a professional inspect your distribution board before installation day is money well spent.
Step 1 — Assess the Site and Plan the Cable Routes
Walk the full path cables will take, from the rooftop panels down to the proposed inverter spot and on to the distribution board. Shorter runs are better: long DC runs lose more energy and cost more in copper. Note where you will drill through walls, how cables will sit in conduit or trunking, and whether the route crosses water pipes or existing wiring. Check that the mounting wall is solid brick or concrete — not a thin partition — because inverters are heavy. If panels are not mounted yet, plan their layout now using our solar panel mounting structures guide, since panel position decides your string layout and cable entry points.
Step 2 — Choose the Right Location for the Inverter
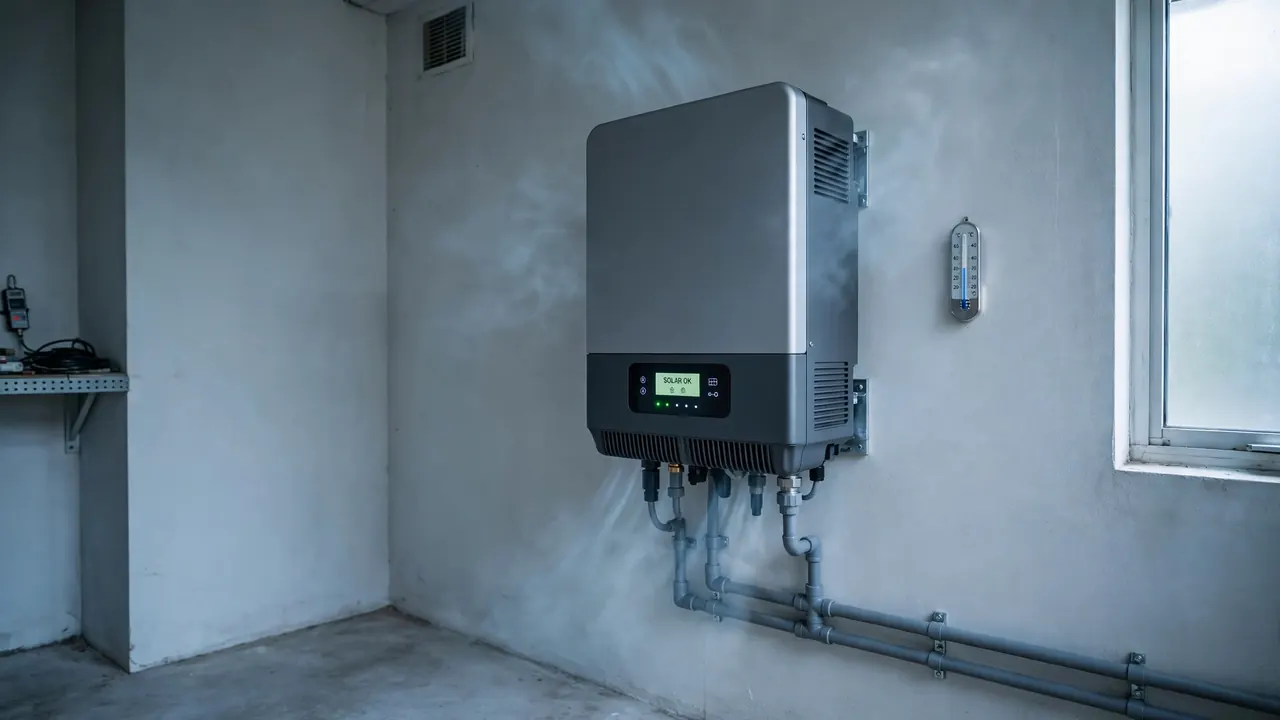
Location is the most underrated decision in the whole job. Inverters generate heat while working, and heat shortens the life of their electronics — a badly placed inverter runs far hotter than one in a sensible spot.
The Ideal Spot
- Cool and shaded: an indoor room, garage or shaded veranda wall, out of direct sun all day.
- Ventilated: open air around the unit so its fins or fans can breathe — keep the manual’s clearances on all sides and never box it into a closed cabinet.
- Near the distribution board: short AC runs and an easy-to-reach breaker.
- Near the panels, if possible: a wall just below the roof entry keeps DC runs short.
- Dry and clean: away from kitchens, bathrooms and dusty areas.
- Reachable: you will want to read the display and reach the switches, so don’t bury it behind furniture.
Places to Avoid
- Walls hit by direct afternoon sun — the worst possible spot in a Pakistani summer.
- Bedrooms, if the inverter has a cooling fan — the hum can disturb sleep.
- Unprotected outdoors — only if the unit’s protection rating allows it; indoor is almost always better.
- Near flammable material such as gas cylinders or paint stores.
Step 3 — Mount the Inverter on the Wall
Most home inverters hang on a metal bracket supplied in the box. Mark the holes with a spirit level — a tilted unit looks unprofessional and stresses the mount — drill into the solid wall with proper anchors, and seat the inverter firmly on the bracket. Mount it around chest to eye level so the display is readable and the bottom cable entries are easy to reach, and confirm the wall carries the weight with margin to spare.
Step 4 — Connect the DC Wiring from the Solar Panels
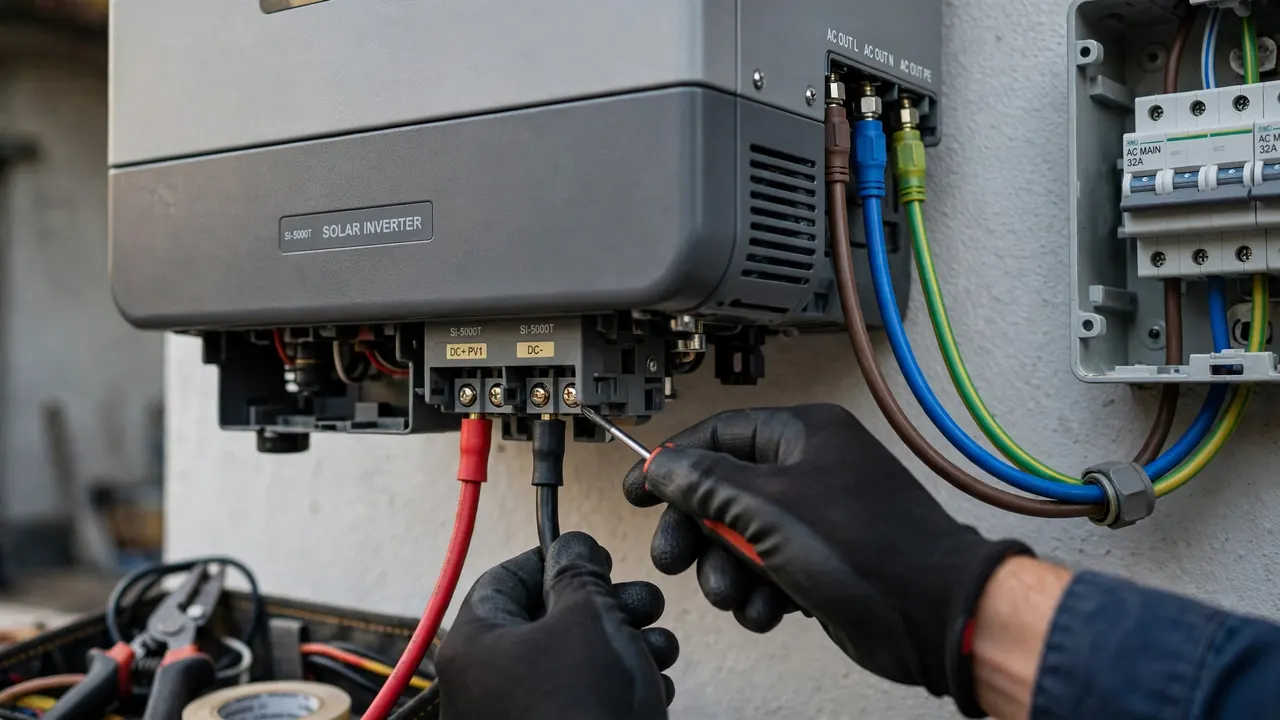
The DC side deserves respect: in normal daylight a panel string can produce several hundred volts of DC, which is dangerous and can arc if disconnected under load.
Strings and Polarity
Panels are wired in series to form “strings”, each landing on one of the inverter’s MPPT inputs. The iron rule is polarity — every string’s positive and negative leads must match the correct terminals, because reversed polarity can damage the inverter instantly. Before connecting, verify each string’s voltage and polarity with a multimeter to catch roof wiring mistakes. Also confirm each string’s voltage sits within the inverter’s MPPT range in its manual — a string outside that range means the panels were grouped wrong.
Cables and Connectors
Use proper solar DC cable (double-insulated, UV-resistant) and genuine MC4 connectors, crimped with the correct tool — not pliers — and tug-test every crimp. Run exposed DC cables in conduit or UV-rated trunking, keep positive and negative runs together, and fit a DC isolator switch near the inverter so the panels can be disconnected safely for maintenance. Label every string at both ends.
Step 5 — Connect the AC Wiring to the Distribution Board
This is where a qualified electrician earns their fee. The inverter’s AC output goes to the distribution board through a dedicated circuit breaker sized to the inverter’s output — never shared with other circuits. The electrician runs correctly sized copper cable to the breaker, connects live, neutral and earth properly for Pakistan’s 220V / 50Hz supply, and torques every terminal to specification. Loose AC terminals overheat over time and are a genuine fire risk. Label the breaker clearly (for example, “Solar Inverter”) so future work on the board is safe.
Step 6 — Earth the Inverter and Add Surge Protection
Earthing is non-negotiable. Bond the inverter’s earth terminal to your home’s earthing system — usually an earth pit or rod near the building — with a dedicated earth wire. This protects people from shock and gives surges a safe path to ground. As a second layer, fit surge protection devices (SPDs): one on the DC side between panels and inverter, one on the AC side at the board. With Pakistan’s intense monsoon lightning, SPDs are cheap insurance. Earth the panel frames and mounting structure too, bonded to the same system.
Step 7 — Connect the Batteries (Hybrid and Off-Grid Inverters)
On hybrid and off-grid models, wire the battery bank to the dedicated battery terminals — never to the PV or AC terminals. Match the bank voltage to the inverter’s requirement, wire positive to positive and negative to negative, and keep battery cables short and thick — low-voltage battery cables carry high current. Fit a DC fuse or breaker on the battery cable near the battery, place batteries in a ventilated spot away from the inverter’s heat, and set the inverter’s battery type and charging parameters before the first charge.
Step 8 — Commission the Inverter and Test the System
Follow your manual’s power-on sequence — typically the AC breaker first, then the DC isolator, then enabling the inverter. The unit should boot, detect the grid and start converting solar power within minutes. Verify: normal grid voltage and frequency with no fault codes; production tracking sunlight; battery charging from solar on hybrids; loads running without tripped breakers; and backup switching working after a brief simulated outage. If a fault code appears, look it up in the manual — first-day faults are usually reversed polarity, an out-of-range string voltage or a loose AC connection.
Step 9 — Set Up Monitoring and the Mobile App
Most modern inverters monitor remotely through a Wi-Fi dongle or built-in wireless. Connect it to your home Wi-Fi via the manufacturer’s app and register the system with the inverter’s serial number. You will soon see live production, daily totals, battery status and alerts. Monitoring is how you catch problems early — a sudden production drop on a clear day usually means dirty panels, a tripped breaker or a shaded string. Enable fault notifications so the app tells you instead of you discovering issues weeks later.
8 Common Solar Inverter Installation Mistakes to Avoid
- Direct sunlight. A sun-baked inverter runs hot, derates output and ages faster.
- Blocked ventilation. Respect the manual’s clearances; never seal the unit in a cabinet.
- Reversed DC polarity. Verify every string with a multimeter before connecting.
- Wrong string voltage. Too many panels in series can exceed the inverter’s maximum input.
- Undersized cables. Thin cables on long runs waste energy as heat and can melt insulation.
- No dedicated AC breaker. Sharing a breaker is dangerous and makes maintenance painful.
- Skipped earthing or surge protection. This leaves the system exposed to faults and lightning.
- Ignoring the manual. Every model has quirks — battery settings, grid codes, country profiles. Ten minutes of reading saves hours of fault-chasing.
Safety Precautions to Never Skip
- Never disconnect DC connectors while the system is producing — open the DC isolator first to avoid arcing.
- Assume every wire is live until tested with a meter, on both DC and AC sides.
- Keep the work area dry; never handle electrical equipment with wet hands or in rain.
- Wear insulated gloves and safety glasses when working on DC wiring and batteries.
- Keep an electrical-rated fire extinguisher accessible near the installation.
- Never bypass built-in safety features like anti-islanding protection, which shuts the unit down during grid outages.
- Burning smell, scorched terminals or repeated fault codes? Switch off at the isolators and call your installer.
Check Current Prices
Inverter models and system prices in Pakistan change frequently, so always check today’s numbers before finalizing your installation budget. We keep daily updated solar price tables on our homepage covering panels, inverters and complete systems — use them to plan what your installation will cost right now.
Final Thoughts
A good solar inverter installation is methodical, not complicated: plan the layout, mount the unit somewhere cool and ventilated, wire the DC side with correct polarity, give it a dedicated AC breaker, earth everything, commission in the right sequence and set up monitoring. Get these right and your inverter will serve you quietly for years. When in doubt, hire a qualified electrician — it is the cheapest insurance for your system.
Frequently Asked Questions (FAQs)
Can I install a solar inverter myself, or do I need an electrician?
You can handle the planning, choose the location and even mount the unit yourself, but the AC wiring into the distribution board and the final commissioning should be done by a qualified electrician. Mains-voltage wiring mistakes can destroy the inverter, void its warranty or cause a fire, so professional help is strongly recommended in Pakistan.
Where is the best place to install a solar inverter in a home?
A cool, shaded indoor spot with good airflow — near the distribution board and as close to the solar panels as practical. Avoid direct sunlight, kitchens, bathrooms and dusty areas; heat is the biggest enemy of an inverter’s lifespan.
How long does a solar inverter installation take?
For a standard home system, the inverter portion of the job usually takes a few hours once the panels and mounting structure are ready. Most of that time goes to wiring, earthing and testing rather than the physical mounting itself.
Does a solar inverter need earthing?
Yes, earthing is essential for safety. It protects people from electric shock and gives surges a safe path to ground. The inverter’s earth terminal must connect to your home’s earthing system, and many installers also add surge protection devices on the DC and AC sides.
Can a solar inverter be installed outdoors?
Only if its protection rating allows outdoor use and it is shielded from direct sun and rain. Even then, a shaded indoor location runs cooler and usually lasts longer, so outdoors is a backup option rather than the first choice.
What should I check after the inverter is installed?
Confirm the display shows normal grid sync and solar production, check that all breakers and isolators are labelled, verify the monitoring app is connected and reporting data, and keep the installation manual and warranty card somewhere safe.
What is the correct power-on sequence for a new inverter?
Always follow your inverter’s manual, but the typical order is: switch on the AC breaker first, then close the DC isolator, and finally enable the inverter. Powering down reverses the order — DC off first, then AC — to avoid arcing at the DC switch.
